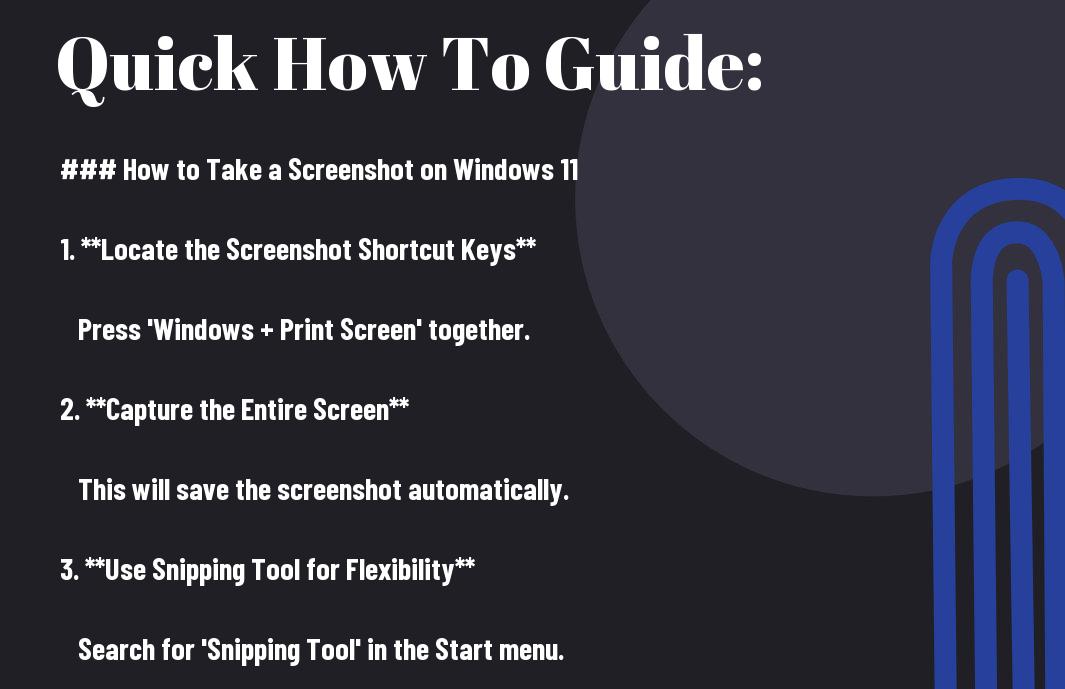
How to take Screenshot on Windows 11 Taking a screenshot on your Windows 11 device is a breeze, and you’re just a few clicks away from capturing that perfect moment. Whether you need to save an error message for troubleshooting, share a funny meme with friends, or preserve a crucial piece of information, knowing how to take a screenshot is an imperative skill. In this guide, you’ll learn the various methods to capture your screen, from the classic keyboard shortcuts to the built-in Snipping Tool, so you can easily save and share your screenshots with ease.
Table of Contents

Key Takeaways:
Taking screenshots on Windows 11 is a breeze, and here are the top three key takeaways to get you started:
- Press the PrtScn button: The easiest way to take a screenshot on Windows 11 is by pressing the PrtScn (Print Screen) button on your keyboard. This will capture the entire screen, and you can then open an image editing software like Microsoft Paint to save the screenshot.
- Use the Windows + PrtScn shortcut: If you want to automatically save the screenshot to the “Screenshots” folder in your Pictures folder, press the Windows key + PrtScn simultaneously. This will save you time and effort in the long run.
- Snip & Sketch for more flexibility: For more advanced screenshotting needs, use the Snip & Sketch tool. You can access it by pressing the Windows key + Shift + S, and it allows you to capture rectangular, free-form, or full-screen screenshots, as well as annotate and share them easily.
By mastering these three methods, you’ll be able to take screenshots like a pro on Windows 11!

Understanding Screenshot Options
The Windows 11 operating system provides various screenshot options to cater to different user needs. Before taking a screenshot, it’s vital to understand the types of screenshots you can take, the factors to consider, and the options available.
Types of Screenshots: Full Screen, Window, and Region
You can take three types of screenshots on Windows 11: full screen, window, and region. Full screen captures the entire screen, window captures a single window, and region allows you to select a specific area. Assume that you want to capture a specific part of the screen; the region screenshot option is ideal.
| Screenshot Type | Description |
|---|---|
| Full Screen | Captures the entire screen |
| Window | Captures a single window |
| Region | Allows you to select a specific area |
| Free-form Snip | Allows you to draw a shape around the area you want to capture |
Factors to Consider: Image Quality, File Format, and Storage
The quality of your screenshot depends on various factors, including image quality, file format, and storage location. You need to consider these factors to ensure your screenshot meets your requirements.
- Image quality: Do you want a high-resolution screenshot or a lower-quality one?
- File format: Do you prefer PNG, JPG, or GIF?
- Storage: Where do you want to save your screenshot?
- The file size and compression ratio also affect the overall quality of your screenshot.
It’s vital to consider these factors before taking a screenshot. If you want a high-quality screenshot, you may need to adjust the image quality settings. Similarly, if you want to share your screenshot online, you may prefer a smaller file size. The file format also plays a crucial role in determining the quality and compatibility of your screenshot.
- The PNG format is ideal for screenshots with transparent backgrounds.
- The JPG format is suitable for screenshots with complex images.
- The GIF format is perfect for animated screenshots.
- The storage location affects the accessibility and organization of your screenshots.
- The default storage location is the Pictures folder, but you can change it to any location on your computer.

Taking Screenshots with Built-in Tools
Any Windows 11 user can take advantage of the built-in screenshot tools to capture their screen quickly and easily.
Using the Print Screen Button (PrtScn or PrtScr)
PrtScn is a widely recognized shortcut for taking screenshots. To use it, simply press the PrtScn or PrtScr button on your keyboard. This will capture your entire screen, and you can then open an image editing program like Microsoft Paint to paste and save the screenshot.
Capturing Screenshots with the Windows + Print Screen Buttons
PrtScr and the Windows key are a powerful combination for taking screenshots. Press the Windows key + PrtScn or PrtScr simultaneously, and your screen will dim for a moment, indicating that a screenshot has been taken. The screenshot will be saved to the “Screenshots” folder in your Pictures folder.
Screenshots taken with the Windows + Print Screen buttons are automatically saved, so you don’t need to open an image editing program to save them. This method is convenient when you need to take multiple screenshots in a row, as you can quickly review and organize them in the “Screenshots” folder.
Advanced Screenshot Techniques
Despite having mastered the basic screenshot techniques, you may still need to capture more complex screenshots. In this section, we’ll explore advanced techniques to help you take your screenshot game to the next level.
Here are some advanced screenshot techniques you can use:
- Delayed Screenshots: Use the Windows + Shift + S shortcut to open the Snipping Tool, then click the “Delay” button to set a timer for up to 5 seconds before taking the screenshot.
- Free-form Snips: Hold down the Windows + Shift + S keys and drag the cross-hair pointer to draw a free-form shape around the area you want to capture.
- Window Snips: Press the Windows + Shift + S keys, then click on the window you want to capture. The Snipping Tool will automatically capture the entire window.
The following table summarizes the advanced screenshot techniques:
| Technique | Description |
|---|---|
| Delayed Screenshots | Take a screenshot after a set delay |
| Free-form Snips | Capture a custom-shaped area |
| Window Snips | Capture an entire window |
Tips for Taking Screenshots of Menus and Pop-ups
Little do you know, taking screenshots of menus and pop-ups can be tricky. Here are some tips to help you:
- Press the Windows + Shift + S keys to open the Snipping Tool, then click on the menu or pop-up you want to capture.
- Use the “Delay” feature to give yourself time to open the menu or pop-up before taking the screenshot.
The key to capturing menus and pop-ups is to be quick and precise.
How to Capture Scrolling Windows and Web Pages
You may need to capture a scrolling window or web page that extends beyond the visible area. Here’s how:
Use the Snipping Tool’s “Full Screen” mode to capture the entire scrolling window or web page. Alternatively, you can use third-party screenshot tools that offer scrolling capture features.
Popups and scrolling windows can be challenging to capture, but with the right techniques, you can get the perfect screenshot. By mastering these advanced techniques, you’ll be able to capture even the most complex screenshots with ease.
Summing up
Ultimately, taking a screenshot on Windows 11 is a breeze, and you now have multiple ways to do so. You’ve learned how to use the Windows key + Print Screen, Alt + Print Screen, and the Snipping Tool to capture your screen. You’ve also discovered how to annotate and share your screenshots with ease. With these simple steps, you’ll be a pro at capturing and sharing your Windows 11 screenshots in no time. Recall, practice makes perfect, so go ahead and give it a try!
Frequently Asked Questions
Q: How do I take a screenshot of the entire screen on Windows 11?
To take a screenshot of the entire screen on Windows 11, press the Windows key + Print Screen (PrtScn or PrtScr) simultaneously. This will capture the entire screen, including all open windows and the taskbar. The screenshot will be saved to the “Screenshots” folder in your Pictures folder, which can be accessed by navigating to This PC > Pictures > Screenshots. You can also press the Windows key + E to open the File Explorer and navigate to the Screenshots folder.
Q: How do I take a screenshot of a specific window on Windows 11?
To take a screenshot of a specific window on Windows 11, press the Alt key + Print Screen (PrtScn or PrtScr) simultaneously. This will capture only the currently active window. You can then open an image editing software, such as Microsoft Paint, and press Ctrl + V to paste the screenshot. You can also right-click on the screenshot and select “Save as” to save it to your desired location.
Q: Are there any other ways to take screenshots on Windows 11, such as using a snipping tool?
Yes, Windows 11 comes with a built-in Snipping Tool that allows you to take screenshots of a selected region, window, or full screen. To access the Snipping Tool, press the Windows key + Shift + S simultaneously. This will open the Snipping Tool, where you can choose from four screenshot modes: Rectangular Snip, Window Snip, Fullscreen Snip, and Freeform Snip. Once you’ve taken the screenshot, you can save it to your desired location or share it directly from the Snipping Tool.

